 |
| Kevin Vanek (www.kevinvanek.com) Getting the bottom sand ready. The bottom sand helps to not only keep the bottom of the cupola from melting but helps in creating a proper slope for the well (reservoir area where the molten iron accumulates) so the iron moves toward the pour spout. |

 |
| One of the many iron breaking stations. Iron has to be broken down in to small enough pieces for melting. The size we look for is around that of a tortilla chip. |
 |
| Here is FaRu, a cupolette built by Carl Billingsley (www.billingsleyatelier.com), in full swing with the main blower on. |

 |
| We had many scratch block molds this time around and t seems they outnumbered the students' molds. This wasn't much an issue however because it shows great community involvement here at ECU. |
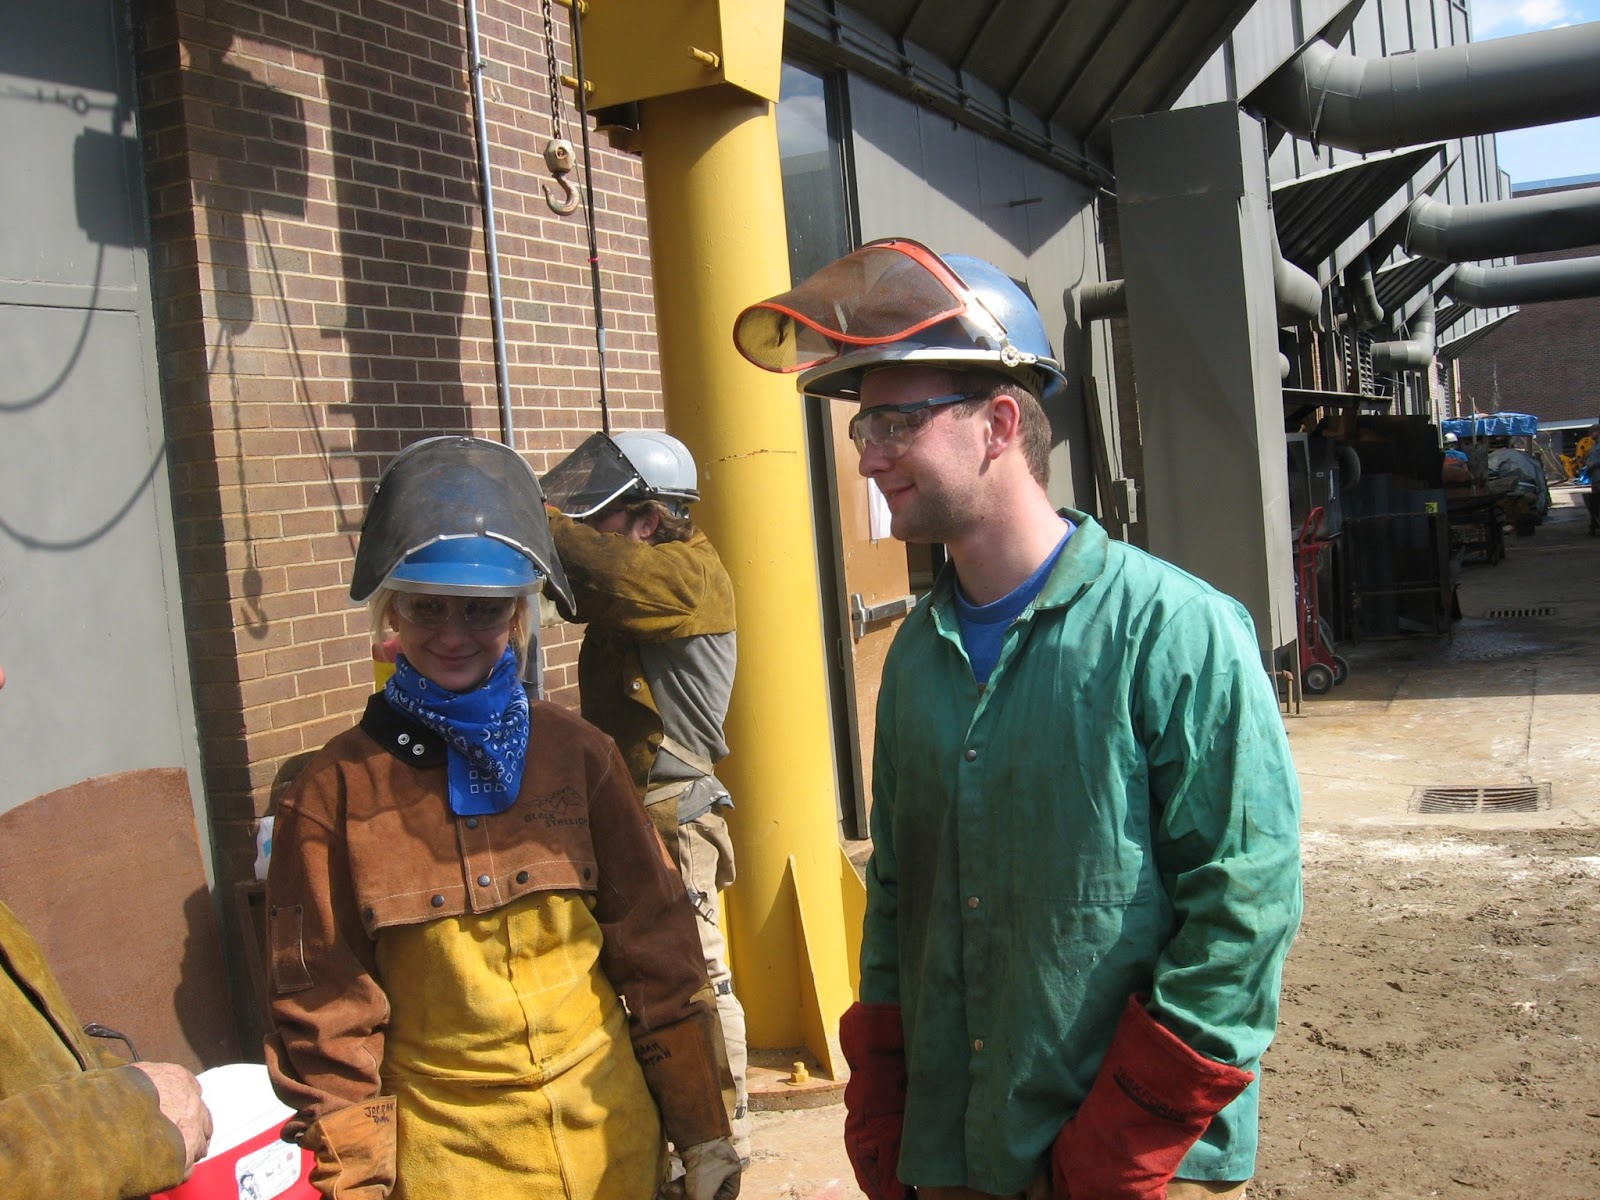 |
| A few of the ECU student who showed up to help out with the pour. |


 |
| Keeping the slag hole clear is a never ending task. The slag hole is where slag, the impurities in the metal, exit the cupola. The slag hole is situated at the top of the reservoir area, being less dense than the iron the slag floats to the surface. The slag then drips out the hole oozing like molten glass. |
 |
| A mold line in good form. |
 |
| Another ECU student ready to pour. |

 |
| Here are my molds. They each required a double tap and one and a half ladles. |
 |
| Professor Hanna Jubran (www.hannajubran.com) |


 |
| My molds where poured amazingly and went as planned, minus the first. It did not fill all the way, but still works out. |

 |
| Bottom drop. |


 |
| Breaking open molds is much like Christmas morning. |


 |
| Here are my castings ready for clean-up. More in process photos coming soon! |
No comments:
Post a Comment